Friday, 22 November 2013

Technical Block 2: Print - Stencils

To begin the Print Technical Block, we prepared stencils to be used for screen printing. We referred back to the drawings we did with Kathy since they were quite abstract and shape based. These were turned into stencils and cut out of newsprint. It was important to consider shape, scale, placement on the newsprint and pattern. We were told to consider, if we were to make a pattern for a top, how would we want it to look? The stenciling was a fairly long process, but one which I quite enjoyed. I created a large variety of stencils so that I had a lot to choose from when it came to screen printing.

These were some stencils that weren't used in the end. I retained the extra cut out pieces because they could be used as an inverse print.
These were some of stencils I just about managed to retain and mount.

Wednesday, 20 November 2013

LN-CC

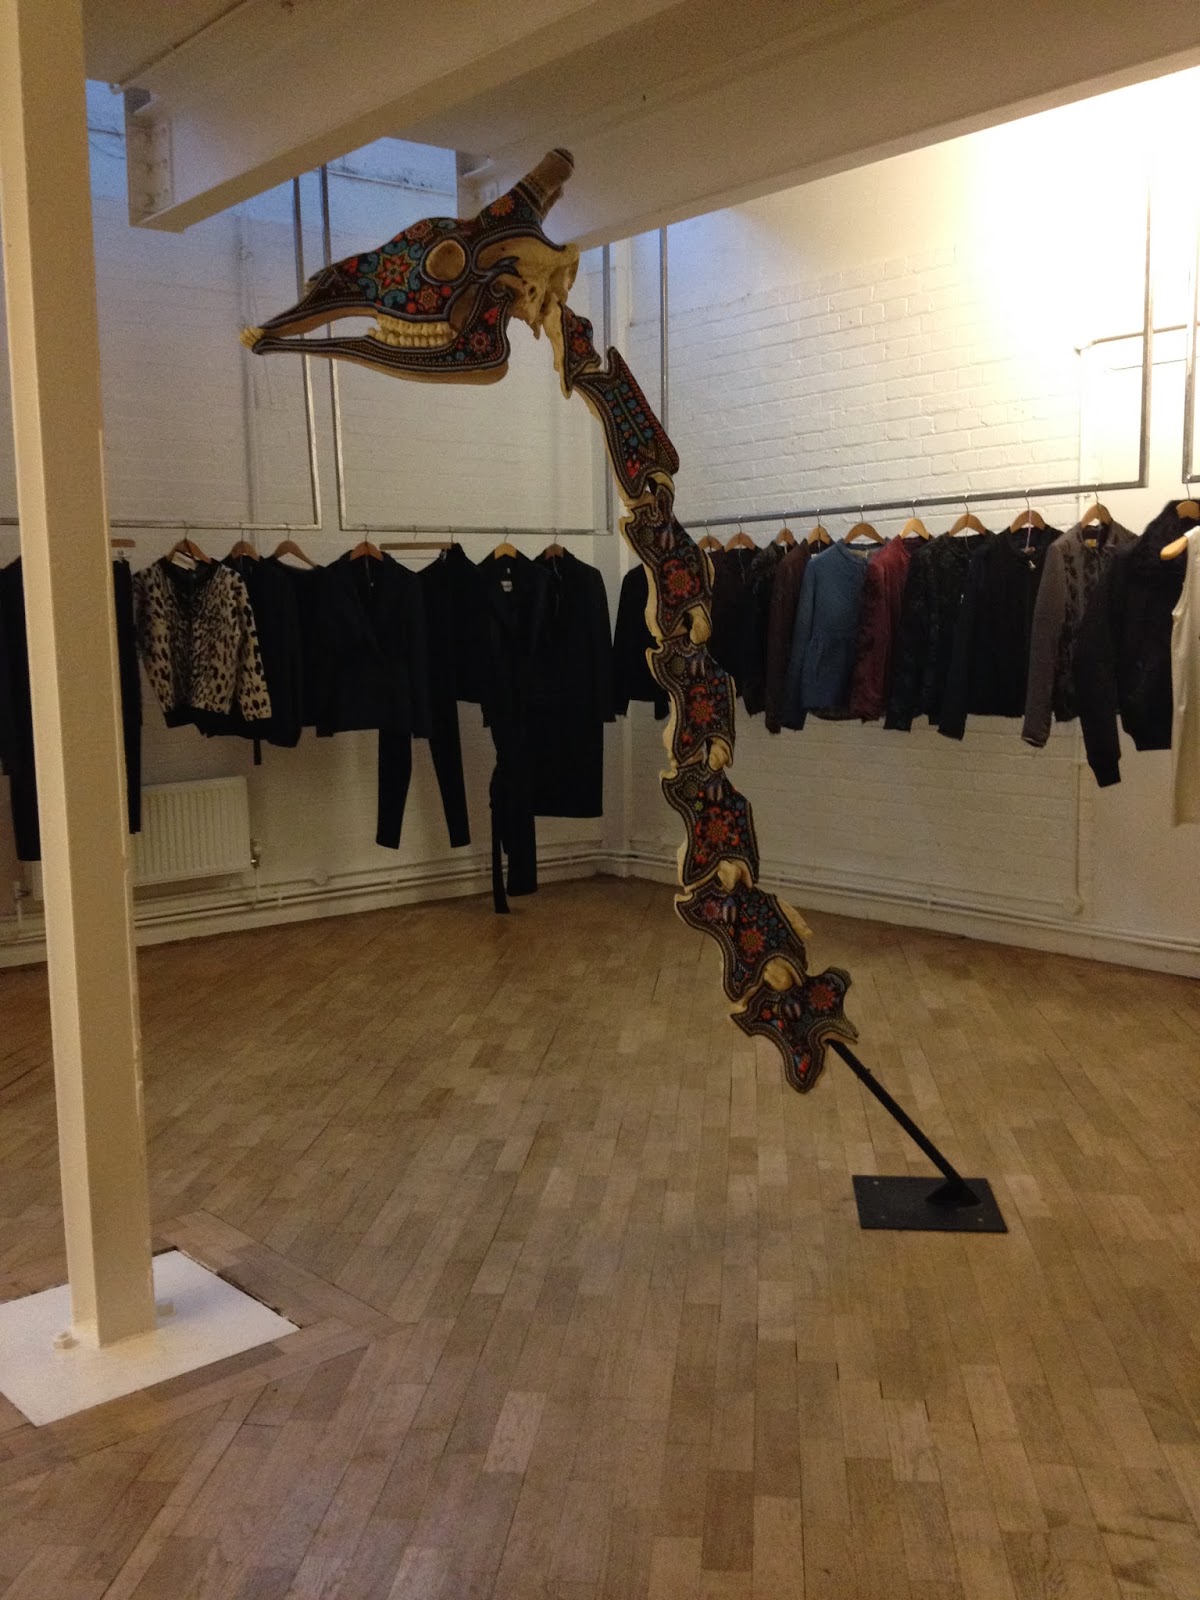
LN-CC is a unique store in Dalston, with a concept focus of both retail and art. I visited it with some friends, one of whom had made an appointment to visit the store for research purposes. It was exciting and like nothing I'd ever seen before in the UK. Everything in the space has been carefully considered and the layout of the store is immaculate in presentation. Its exclusivity makes it an individual and intriguing visit, which can only be made by appointment.

It reminded me more of the shops you find in Berlin - independent and exclusive in nature. The focus isn't solely on selling products, but about displaying a concept. It's as though the store is a gallery, and you're viewing pieces of art.

To add to the uniqueness, it contains all sorts: clothes, shoes, accessories, books, music, events space with bar...everything you could possibly need really. It's definitely worth a visit!


Tuesday, 19 November 2013

Drawing Week 2: Lining Paper Drawings with Will Stevens

In this drawing session with Will, we worked on pieces of lining paper which was really fun. We focused on creating textural drawings, and looked at scale, as well as the tools we use to draw with and constrictions we may put in place, and how these constrictions effect a drawing.

For the first drawing, we chose one object from our box - mine was a balloon that I had found on the floor outside, and it had decayed and cracked. We had to draw this first object small scale and in as much detail as possible. After this the  drawing progressed through 3 further stages; through each stage the scale was enlarged and detail was lost, so that by the end I was drawing one large scale, abstract pattern that loosely linked to the first drawing. I really enjoyed this task and I think my outcomes were successful.


For this exercise we partnered up, and then split into groups. We had one sheet of lining paper between our pairs that were arranged on the floor with our group to create a star shape. We each sat at either end of our sheet facing our partner. We selected the tools we were going to draw with and had to join them together with a piece of string. We then had to draw our partner upside down with their head nearest to us. The constriction was the joint drawing tools, because when your partner moved, your tool was in sync so it moved with theirs. This was a really unusual drawing but playful and the outcome was rough and different. We then went round the groups trying to match up the person with their portrait - a fun way to end the drawing session.


Monday, 18 November 2013

Drawing Week 2: Drawing with John Bentley

Similar to the theme of the previous John Bentley drawing session, we did some more expressive and creative drawings focusing on our possessions.

Draw all the possessions in the world that I own on one sheet

We swapped our sheets and had to select 5 of the objects that someone else owns and redraw them exactly as they are, using a different medium for each object

Swap sheets with the person sitting next to you and redraw the 5 objects exactly as they are, but draw one inside the other, each object in a different colour, and they can only touch the outer object in one place. 

We then created our own tool using rolled up newspaper and used it as a paint brush with ink. Then we were given instructions to draw 8 different things
We had to draw one object from the previous drawing enlarged - mine was a moon boot!

The person sitting next to me had to redraw my object exactly as I drew it

Sunday, 17 November 2013

Drawing Week 2: Colour with Claire

For this drawing session we were told to look at our objects from our box and consider closely, the detail in terms of colour and texture, and how you would reflect this in your drawing. If you were looking at a plastic object, you may apply a layer of PVA on top to give it a glossy look, or if the object was grainy and scuffed, you may use something like an oil pastel to reflect this.

As well as this, we had to consider how the detail was made up, a series of marks, layers of colours, etc. It was quite a challenging task, but it made you consider how you reflect a texture in a drawing accurately.


Saturday, 16 November 2013

Technical Block 1: Weave - process and technique

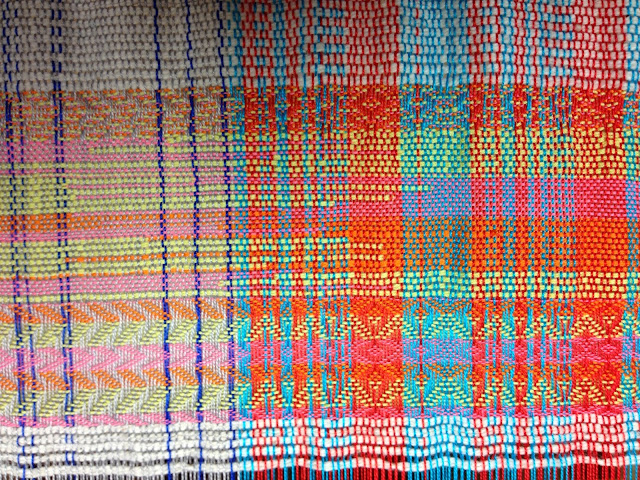
In order to understand the process and technique, we began doing very basic weave patterns. I started with a plain weave, using the same yarns used in the warp. This created quite a basic check like pattern.
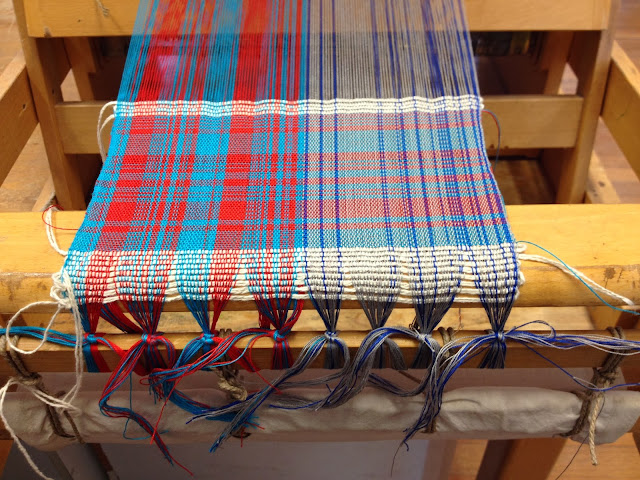
Plain weave
It was really interesting to see the difference in patterns. Mine was a point draft but my partners on the left hand side was a straight draft, so even though we might have used the same pattern such as a twill, it would turn out differently for both of us.

Once we got to grips with the threading of the weft and the changing of the shafts, we could use different yarns and pattern sequences.


I found that weave had quite a different way of interpreting and translating the research. The main things to focus on was colour. At first it was quite difficult because a lot of my drawings were curved and fluid, but in weave you're essentially making a stripe, so this was a challenge at first. Nevertheless, I realised that you can interpret line quality and use an appropriate thread accordingly. For example, I had a drawing which was really fluid and smoke like, with a wispy line quality, so I used a yarn which mimicked this. It had a fluffy and delicate texture which worked well in interpreting the research.

Once I was more confident with the process, I began to use more complicated patterns and made my own patterns. Extra weft allowed me to create loops in the weave which was quite playful and interesting. As well as this, interlinking the threads created a sort of gradient in the pattern which worked really nicely. I think this was one of my favourite samples, since the colours worked well and it had a successful graduating pattern in it.
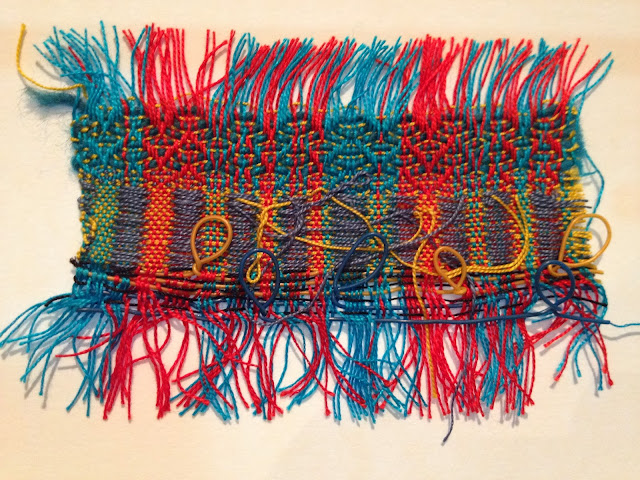
Extra weft and electrical wires
Interlinking yarns

As well as varying the pattern, I also experimented with incorporating objects from my box into the weft. Objects such as: elastic bands, electrical wire, the packaging from roll up cigarette filters, feathers and other such bits and pieces. These additions provided a fun, playful and interactive nature and made the samples textural and more exciting which worked successfully.
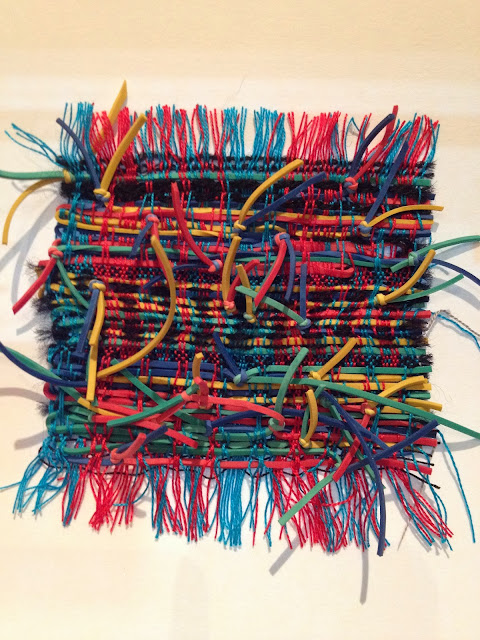
Elastic band sample
Overall I found weave really enjoyable, in terms of both process and outcome. Athough some samples worked more successfully than others, I think I was experimental and challenged my use of materials and colours. I learnt a lot and carry this knowledge forward into future work and research.

Friday, 15 November 2013

Technical Block 1: Weave - Beginning

Beginning
For our first technical block rotation, I began with weave. I was really excited to try weave because it's something I've never tried before (not properly anyway). I'd only ever tried very basic hand weave.

Warp order pattern
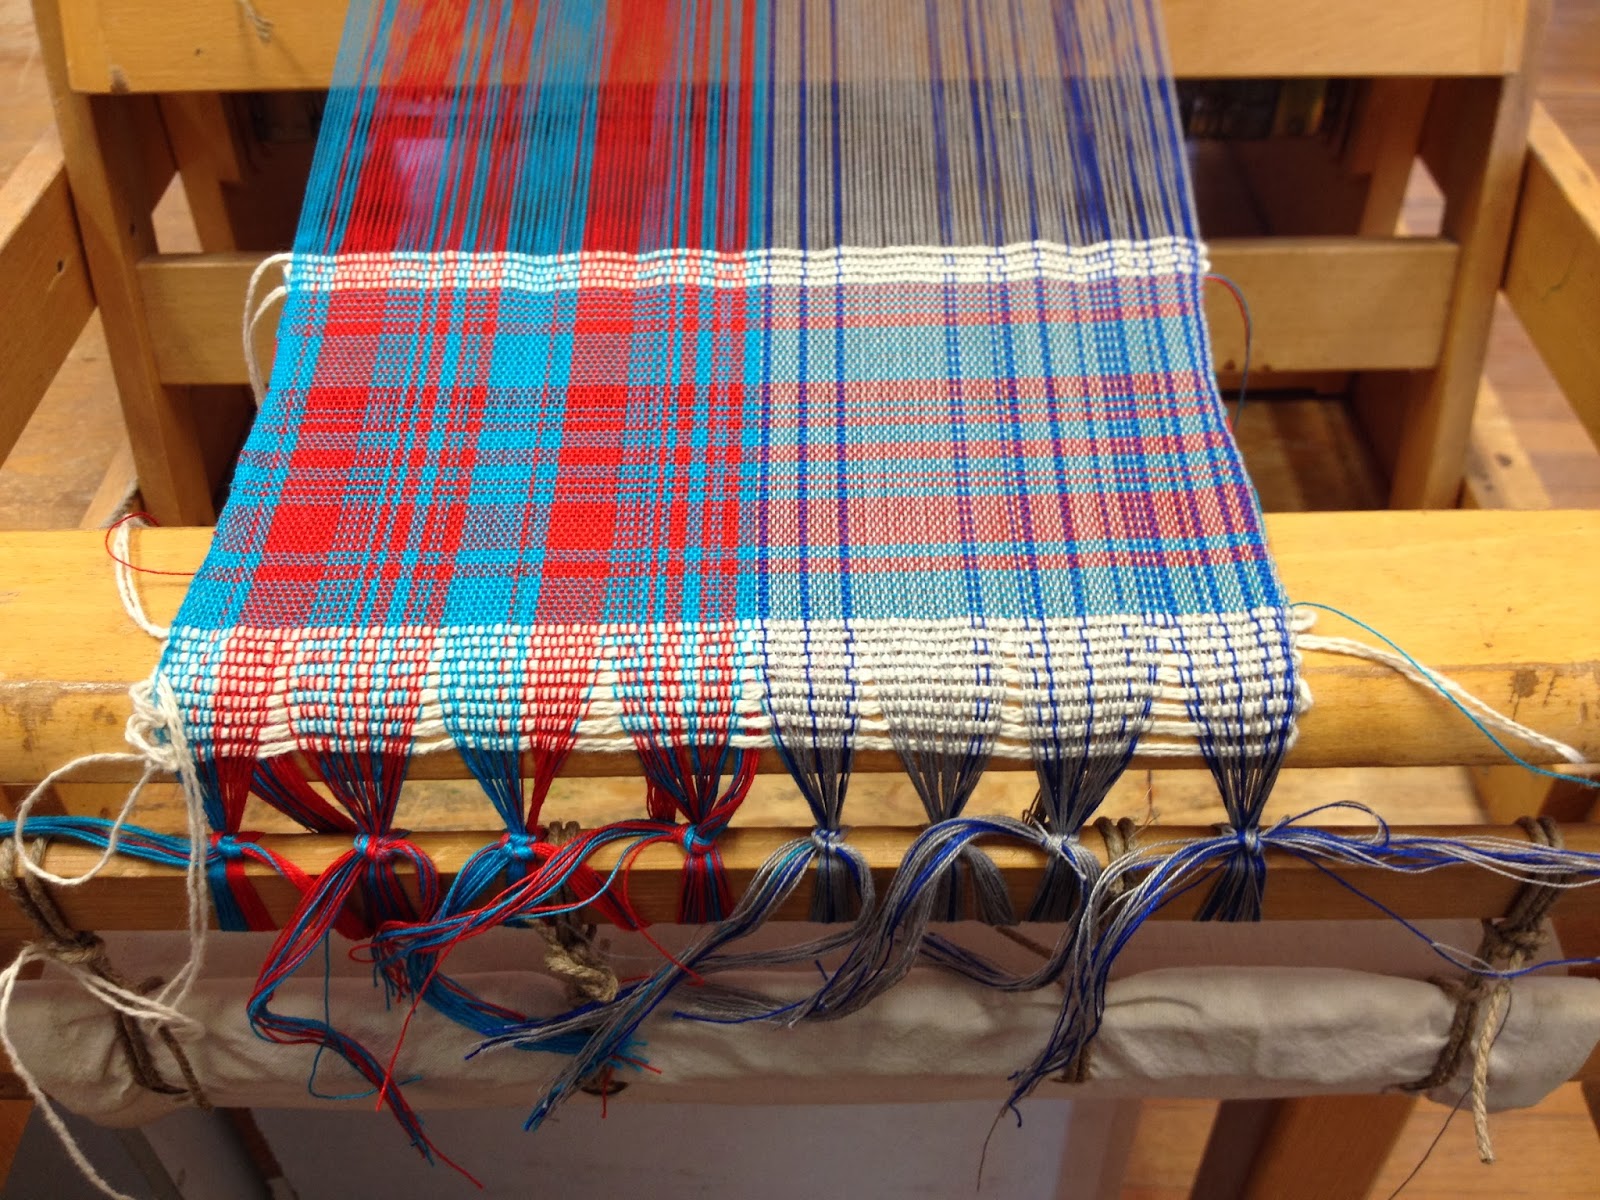
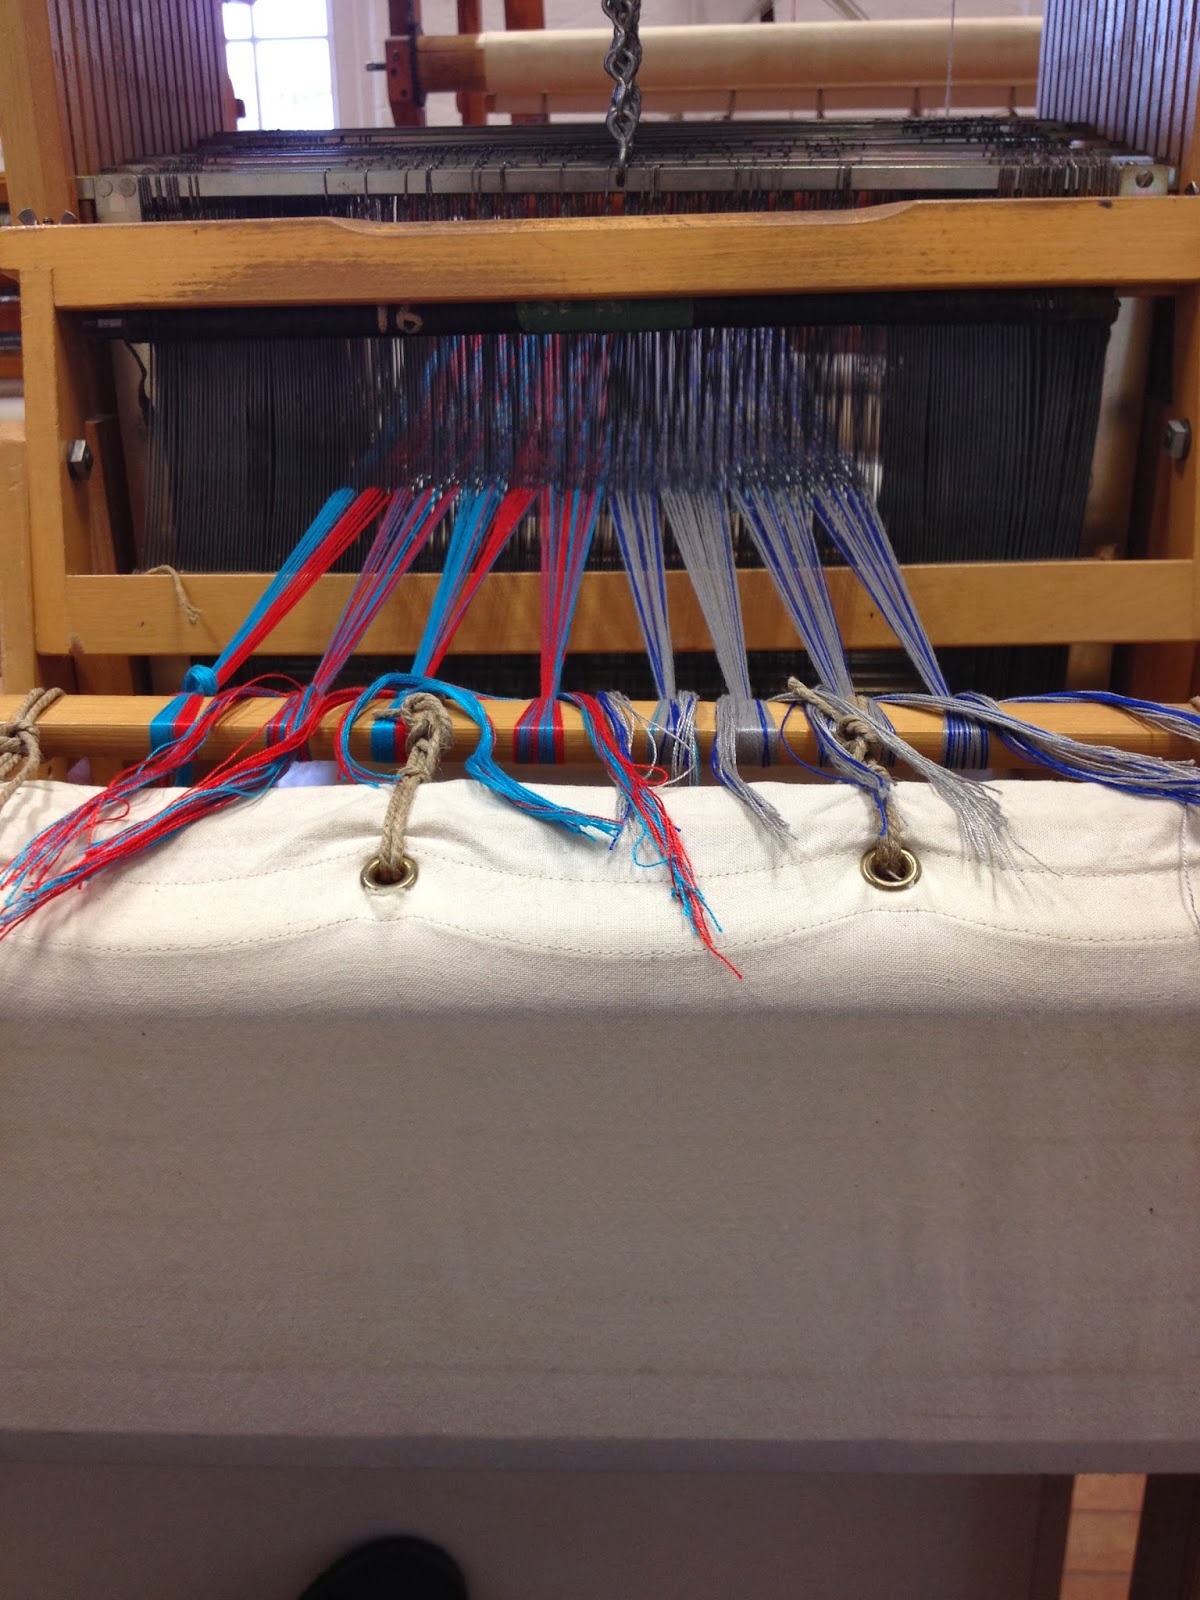
We began by selecting a colour palette based on our Rough Guide and Box Clever collection; choosing 2 main colours to be used in the warp (the vertical yarn). Once we had selected these, we created a wrapping pattern which utilised both colours and created a basic vertical stripe. This was then turned into a length of yarn by counting the stripes and creating a warp order - mine was made into a 'point draft'.This was then prepared on a warping board, based on this number pattern sequence of turquoise and red threads. Once the yarns were prepared they were to be loaded onto the loom, ready to start weaving in the weft (horizontal stripe).

Warp sequence
The warp once it had been threaded onto the table loom